en
en italiano
 čeština
 Deutsch
 français
 hrvatski
 magyar
 polski
 српски
 русский
 中文
中文 中文
中文 한국어
한국어 español
Creating three-dimensional faces
You can create a three-dimensional face, which consists of a section of a plane in three-dimensional space. You define a three-dimensional face by specifying the x,y,z coordinates of three or more corners. After you specify the fourth point, the program continues to prompt you for additional faces by alternating prompts for the third point and fourth point to allow you to build a complex three-dimensional entity. Each three- or four-sided plane is created as a separate three-dimensional face entity.
To create a three-dimensional face
Advanced experience level
1 Do one of the following to choose Face ( ):
):
On the ribbon, choose Draw 3D > 3D Face (in Draw 3D Meshes).
On the menu, choose Draw > 3D Meshes > Face.
On the Draw 3D Meshes toolbar, click the Face tool.
Type face and then press Enter.
2 Specify the first point of the three-dimensional face.
3 Specify the second, third, and fourth points.
4 Specify the third and fourth points for additional faces.
5 To complete the command, press Enter.
Any or all edges of a three-dimensional face can be invisible to allow you to more accurately model entities with holes in them.
As the program prompts you for the corner points, in the prompt box, choose Invisible Edge to make the next edge invisible. Or after the 3D face is drawn, use the Edge command. For details about the Edge command,
|
|
|
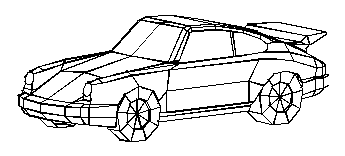
An example of a three-dimensional model created using three-dimensional faces. |